|
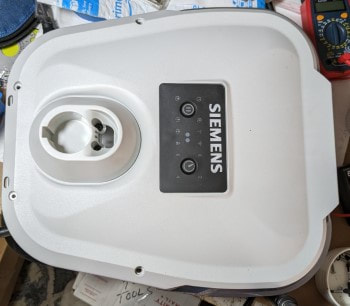
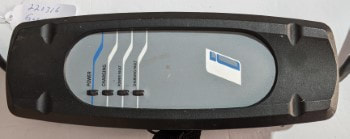
We received this Siemens Versicharge VG2 because it would charge and the front panel lights were not correct. The timer "2" was on and pressing the time change button displayed an error. On further testing there was very erratic light action and you could here the power relay closing.
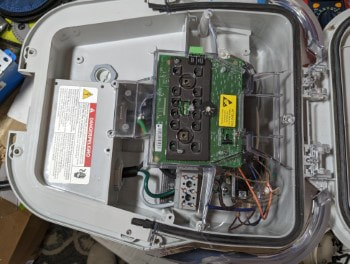
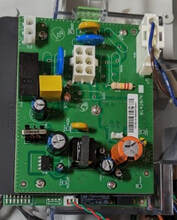
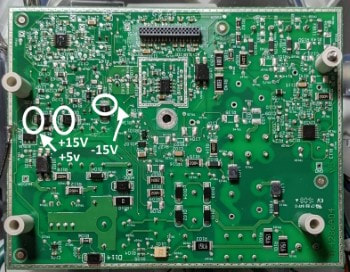
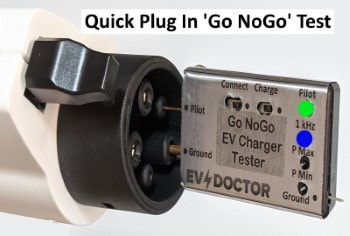
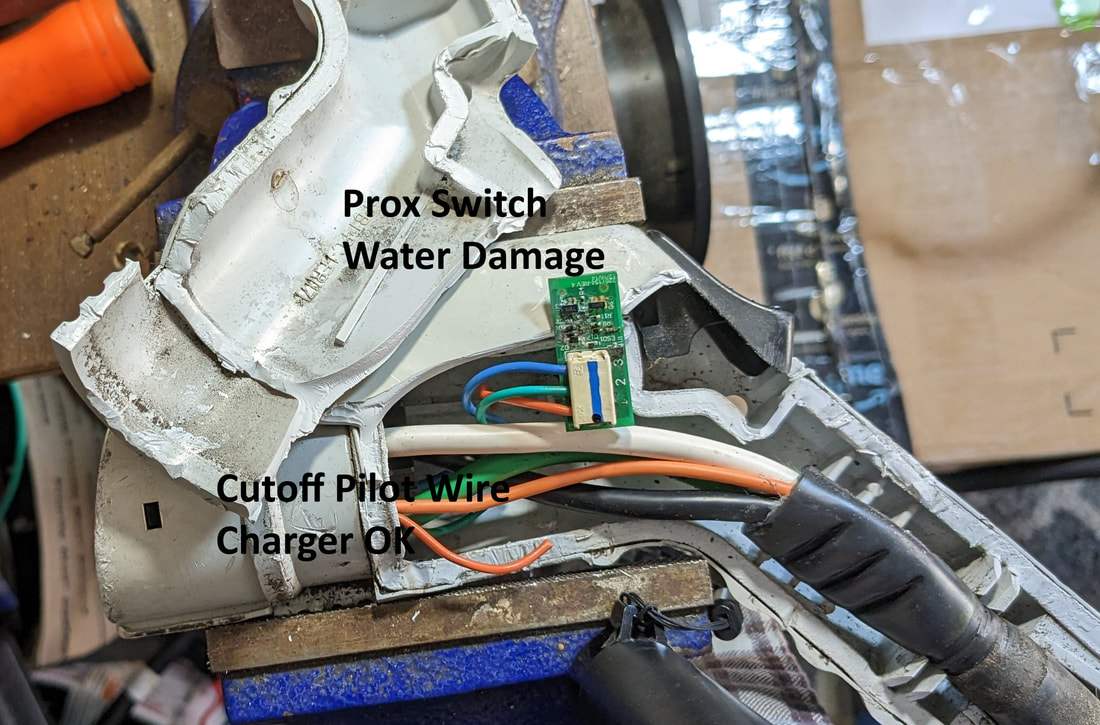
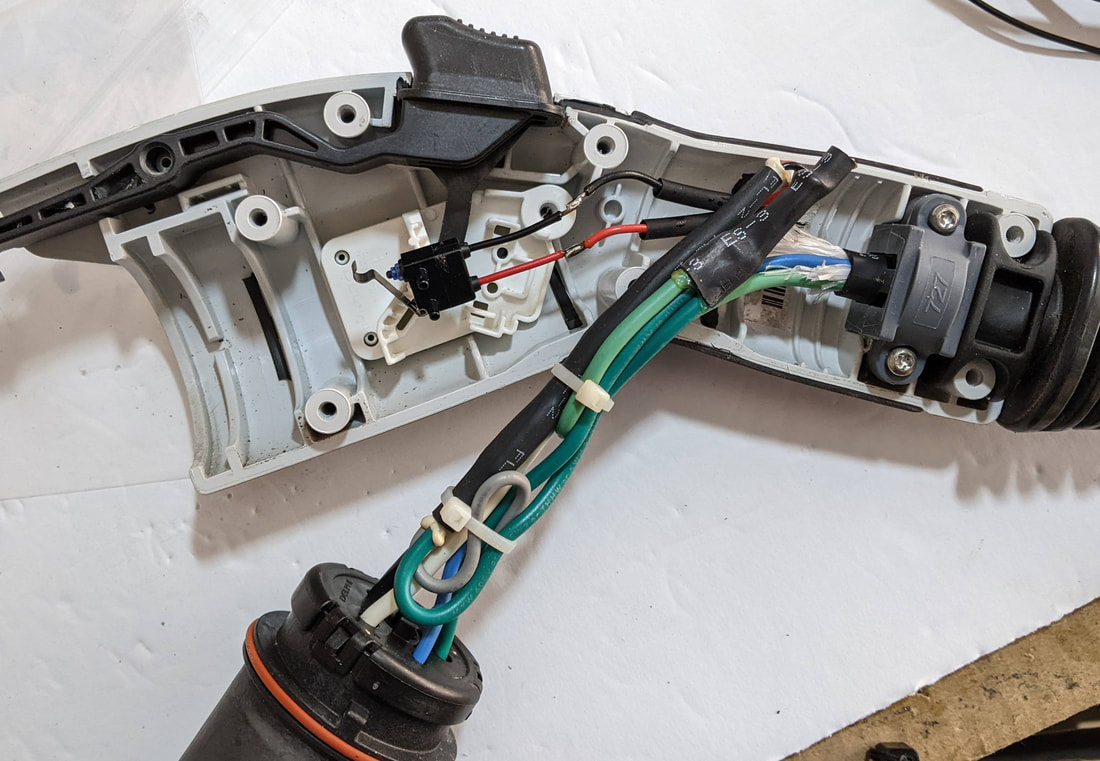
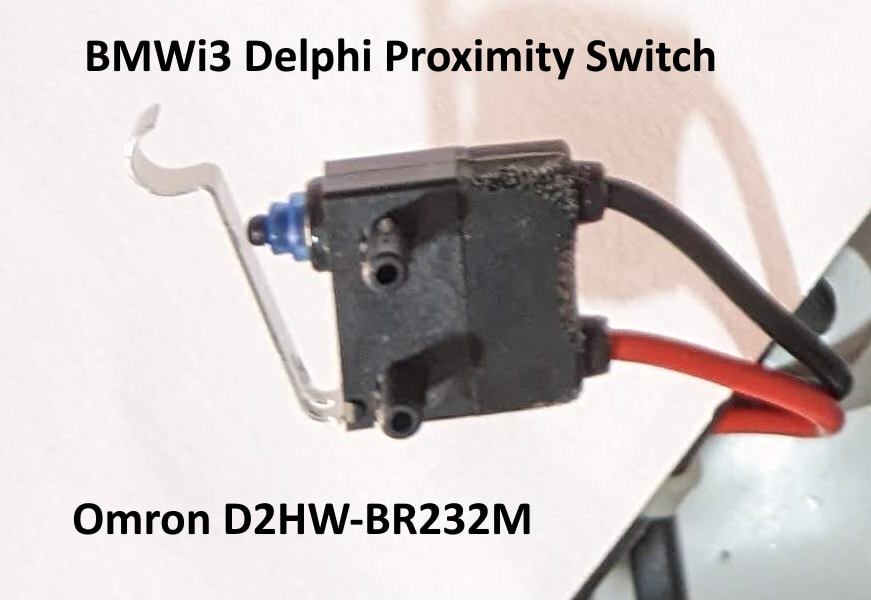
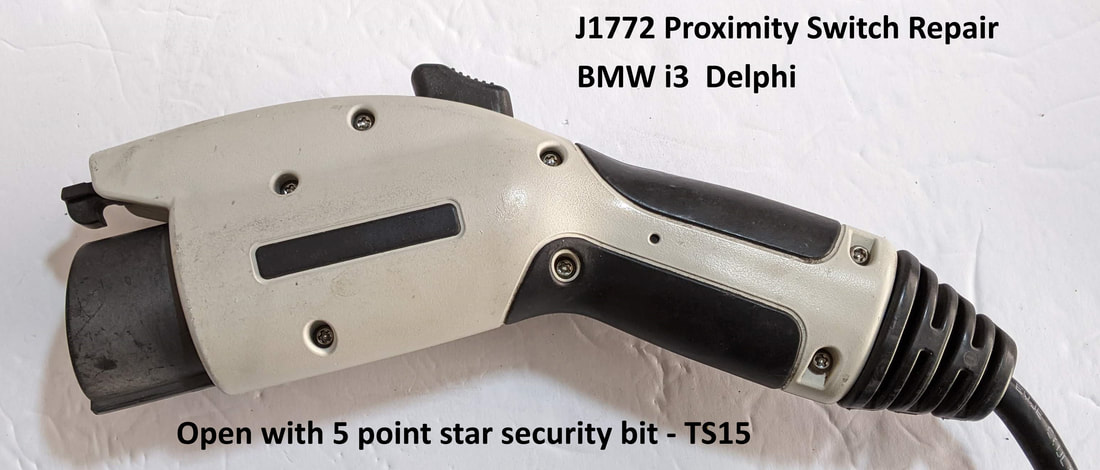
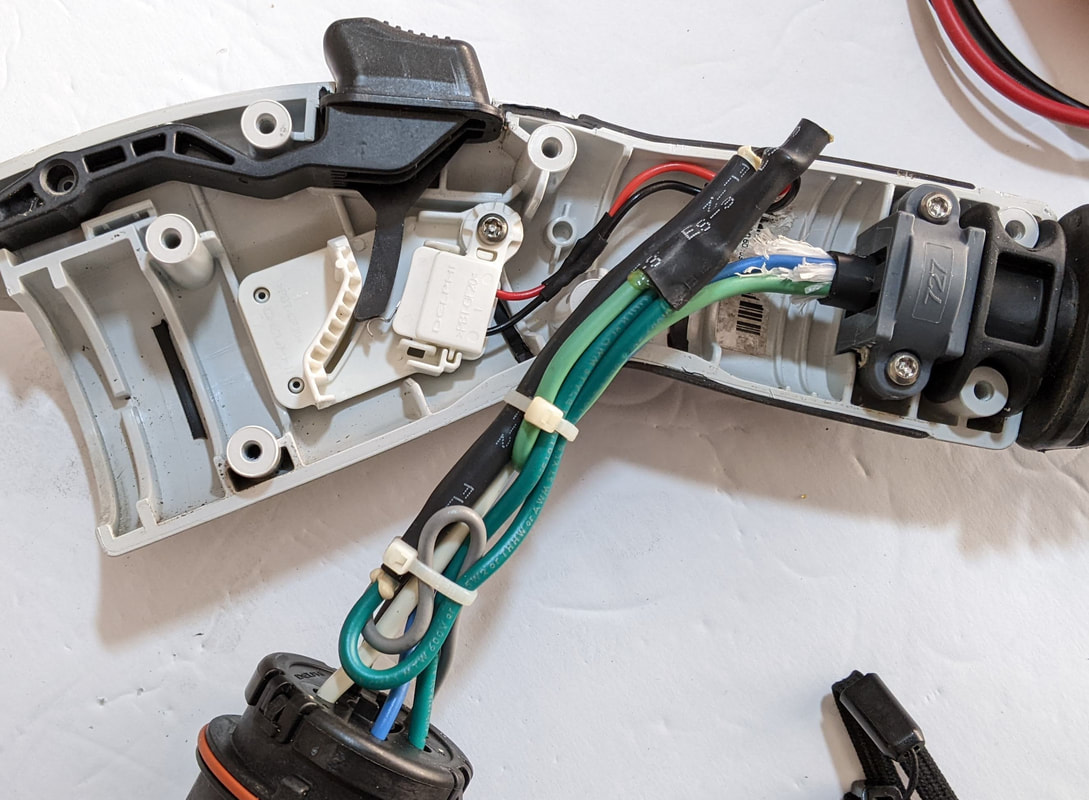
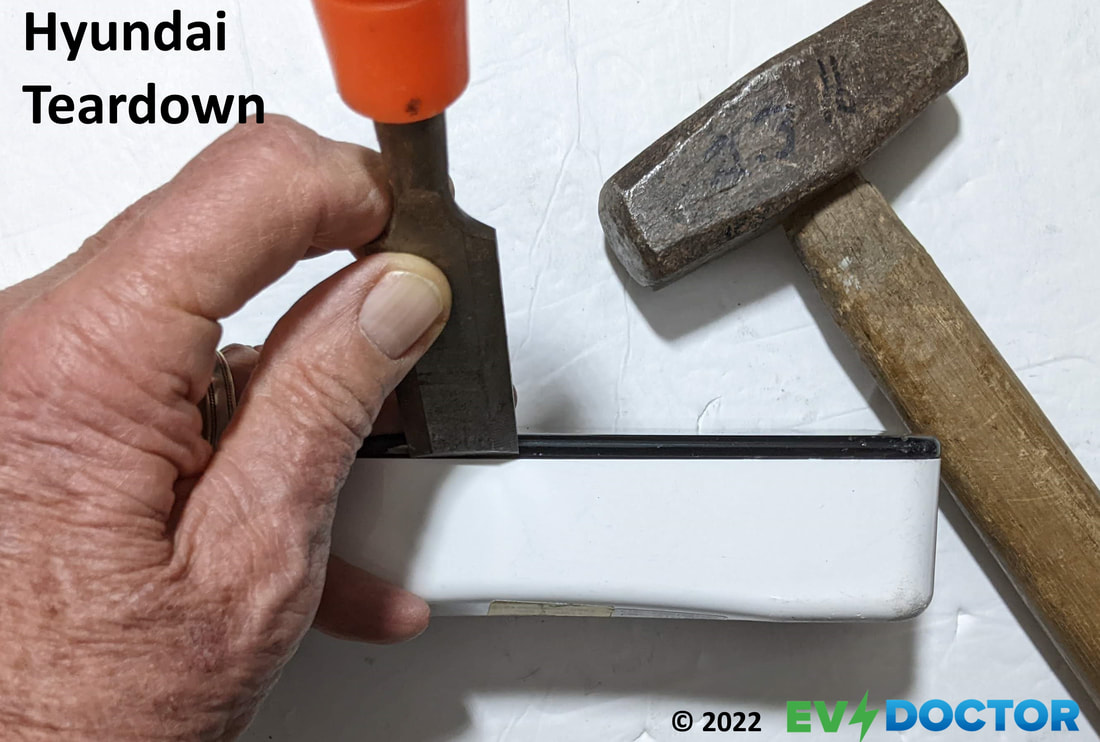
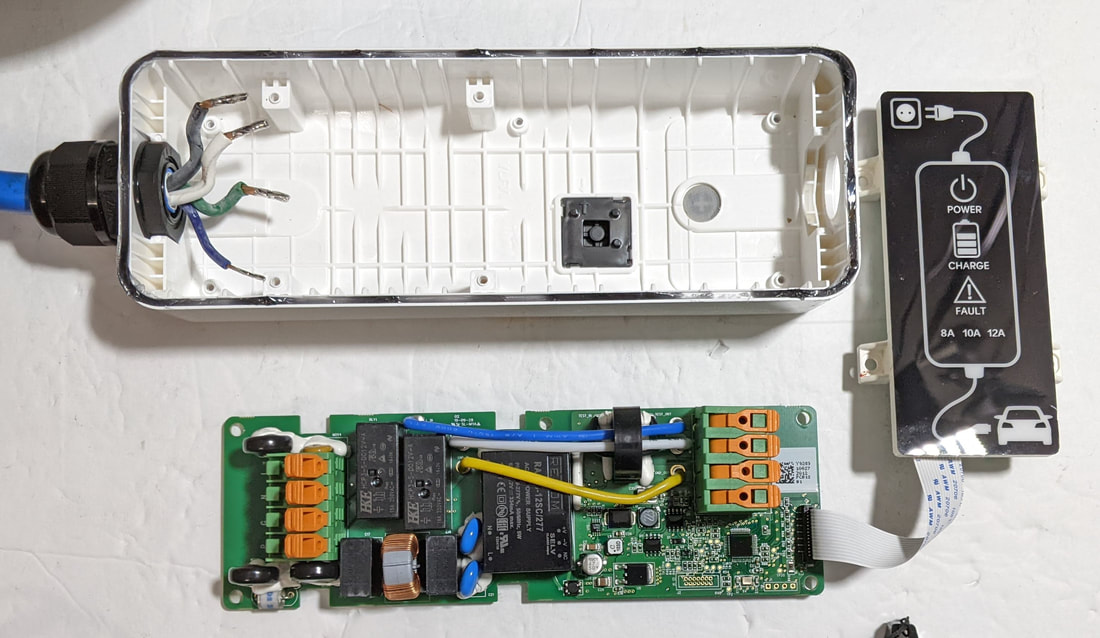
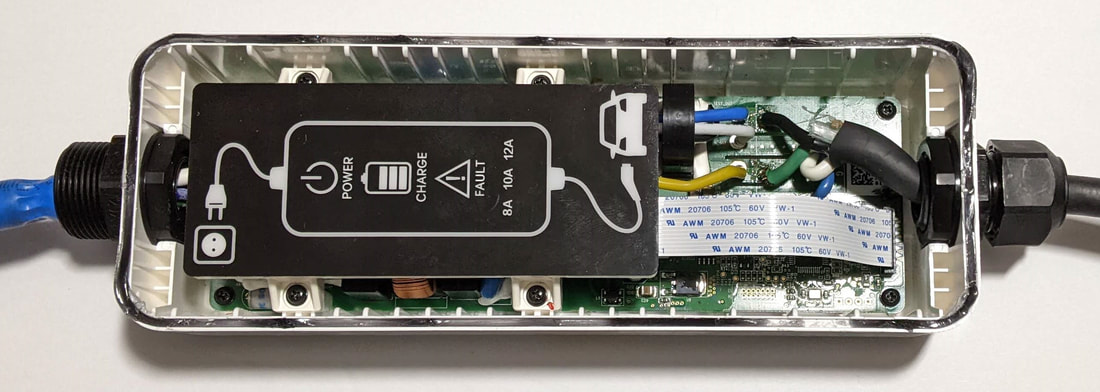
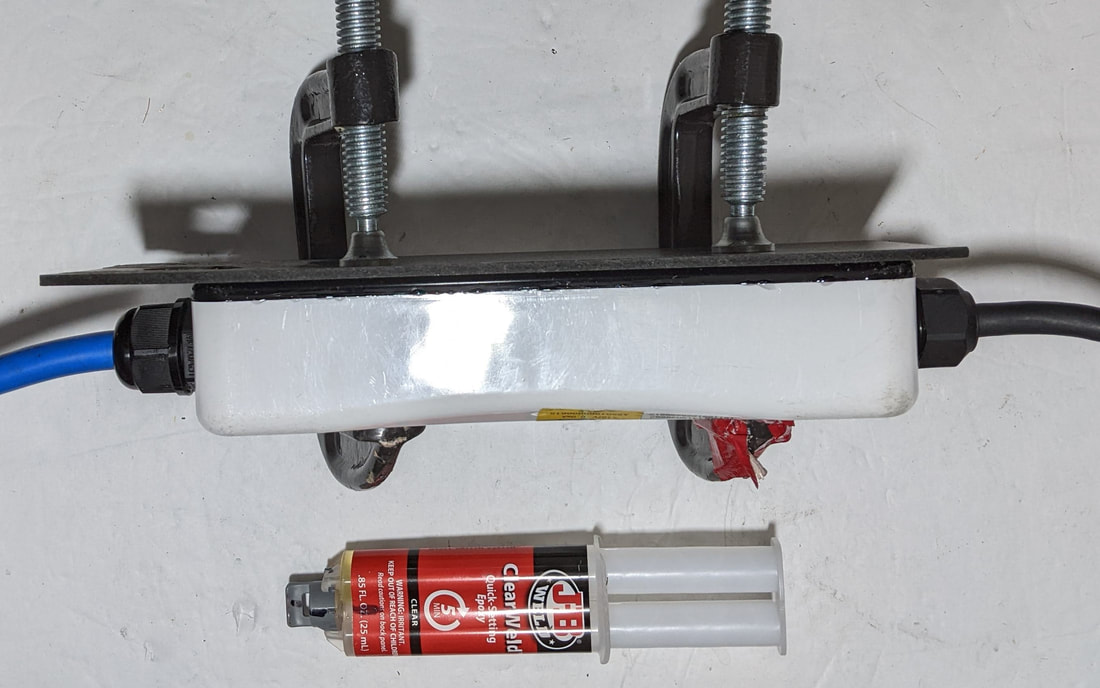
Normally this type of problem is caused by the DC power supply so we opened the case and check the power supply. The +5V, +15V & -15V power supplies were OK. We installed our spare control board and and the problem was not fixed. We installed our spare power and control boards and the problem was not fixed. The problem had to be in the chassis. We disconnected the orange Pilot wire and tried again, It worked. So the problem was in the cable or the J1771 handle. To be sure we left the Pilot wire disconnected and stimulated the charger with our tester. We used a hammer and a chisel to open the J1772 handle (Destructive) We found that a small circuit board for the Prox switch took power from the Pilot signal. We cut that orange wire connection and the Versicharge worked normally. There was obvious corrosion and on the Prox circuit board. We installed a use J1772 cable and handle and it all worked. Moral, We went on a wild goose chase re the power supply, Always check the cable and handle first. Note: Most J1772 handle do not have Prox circuit board and would not have this problem. Note; The client then told us about water damage to the J1772 handle.
1 Comment
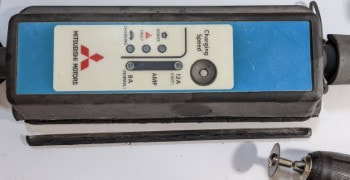
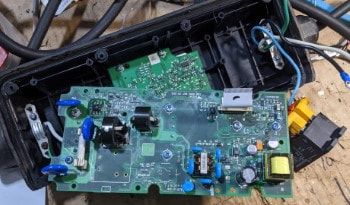
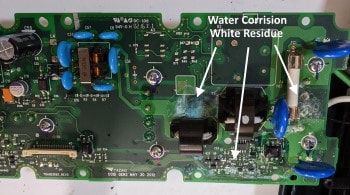
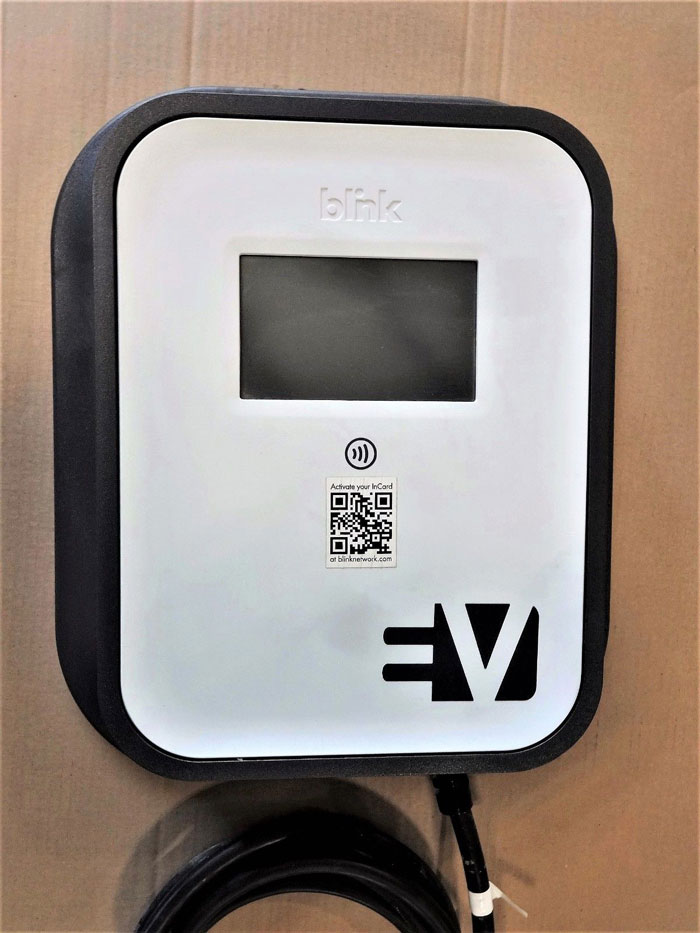
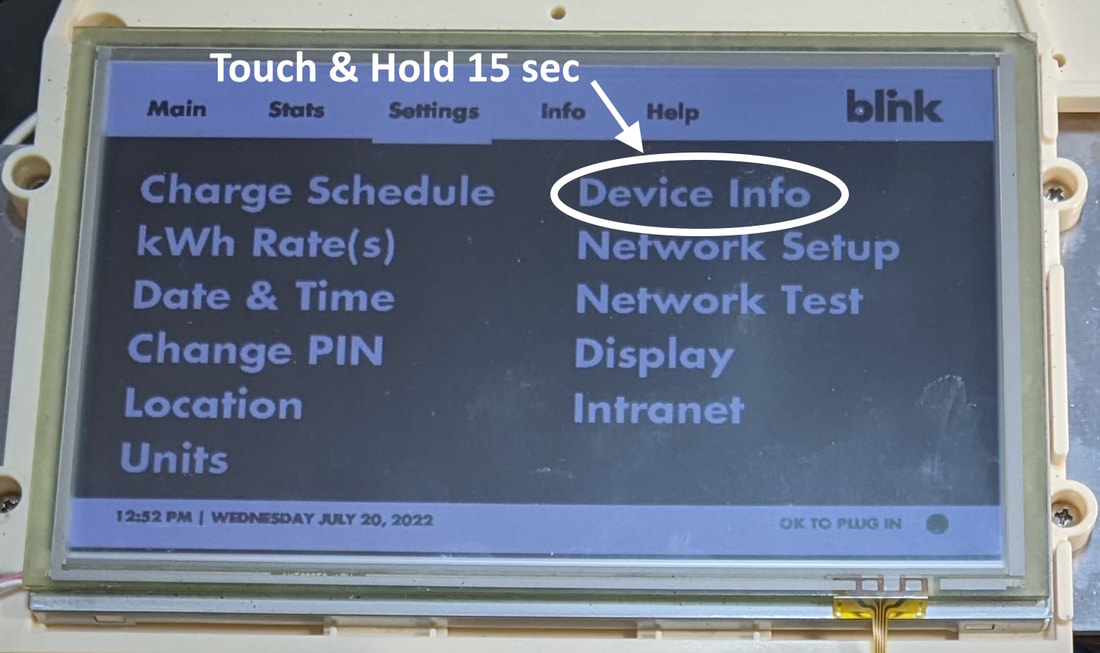
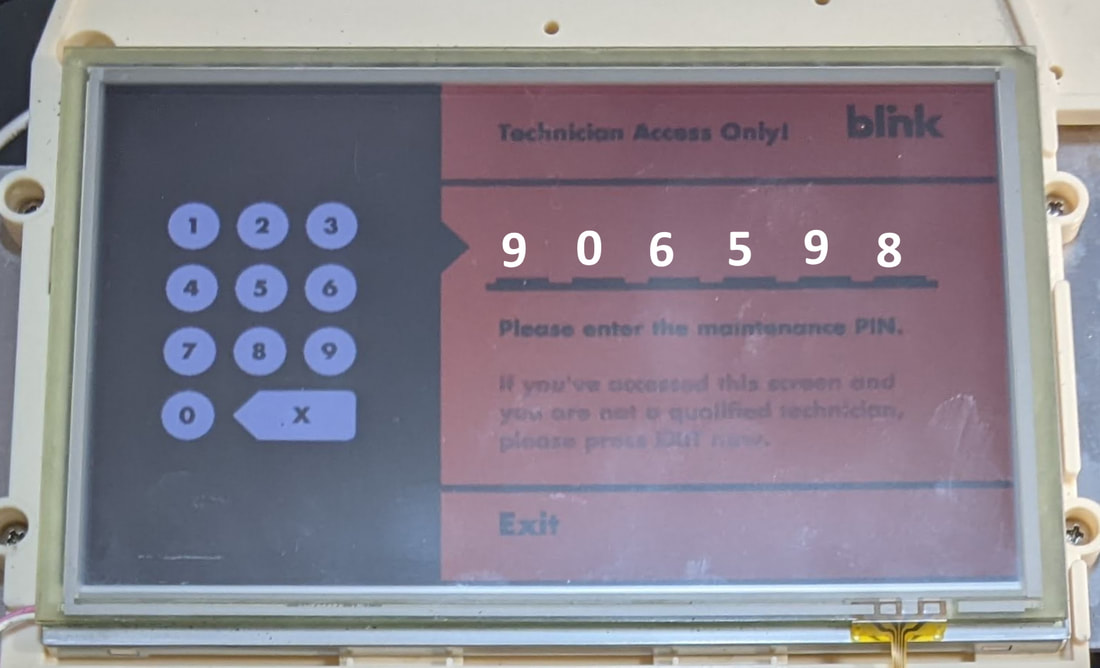
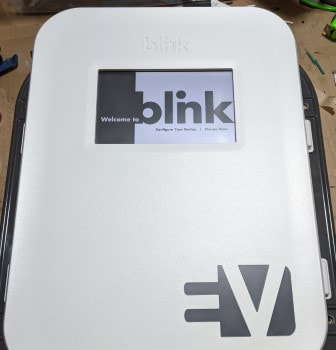
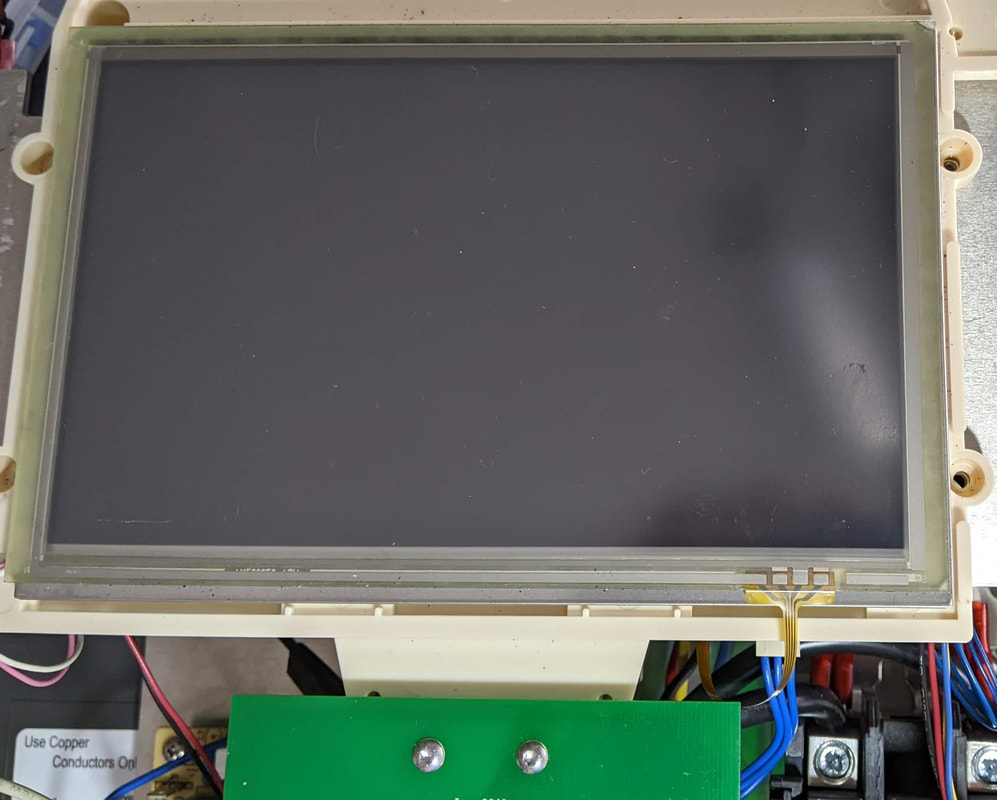
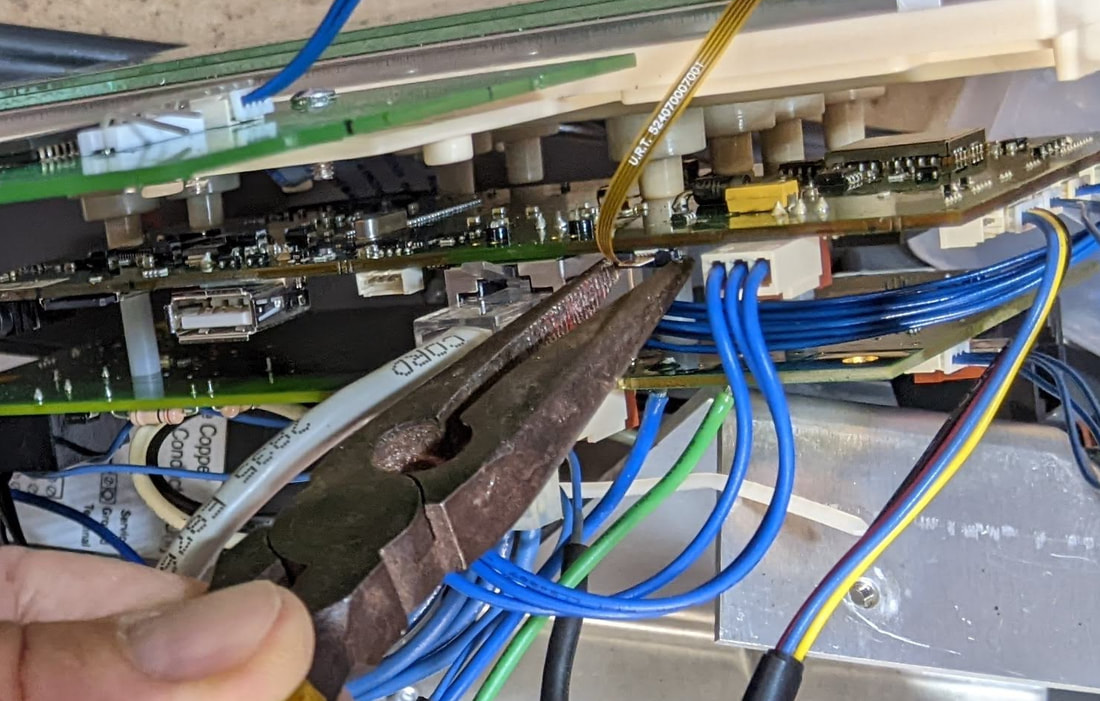
The Mitsubishi Yazaki EV Charger case is quite difficult open. In addition to the screws the cover is glued on with silicon adhesive. We opened this case by cutting off on edge and prying open the case. We found water corrosion on the PCB and were not able to repair this charger. We did learn that this charger, Model 9482A347, is 240V compatible and can charge in 1/2 the time. Many Blink WE-30 chargers are set to 24A but that can be easily upgraded to 30A to give your charger a 25% speed boost. Go to the Settings screen, press and hold Device Info for 15sec. Then you will be asked for the "Blink Maintenance Pin", Enter 906598 and you will get access to the Maintenance screen, Enter Max Current Setting - 30, and press done. There are other default settings on the Maintenance screen.
|
AuthorDavid R Ahlgren, aka EVDOCTOR 4EARTH, #1 Expert on the Web Archives
May 2023
Categories |


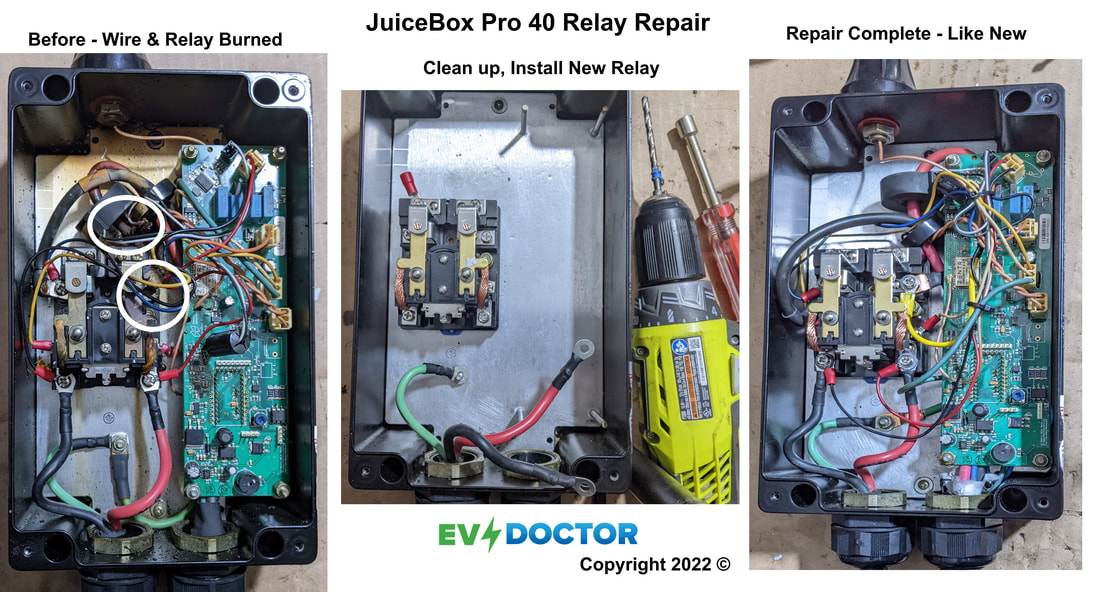
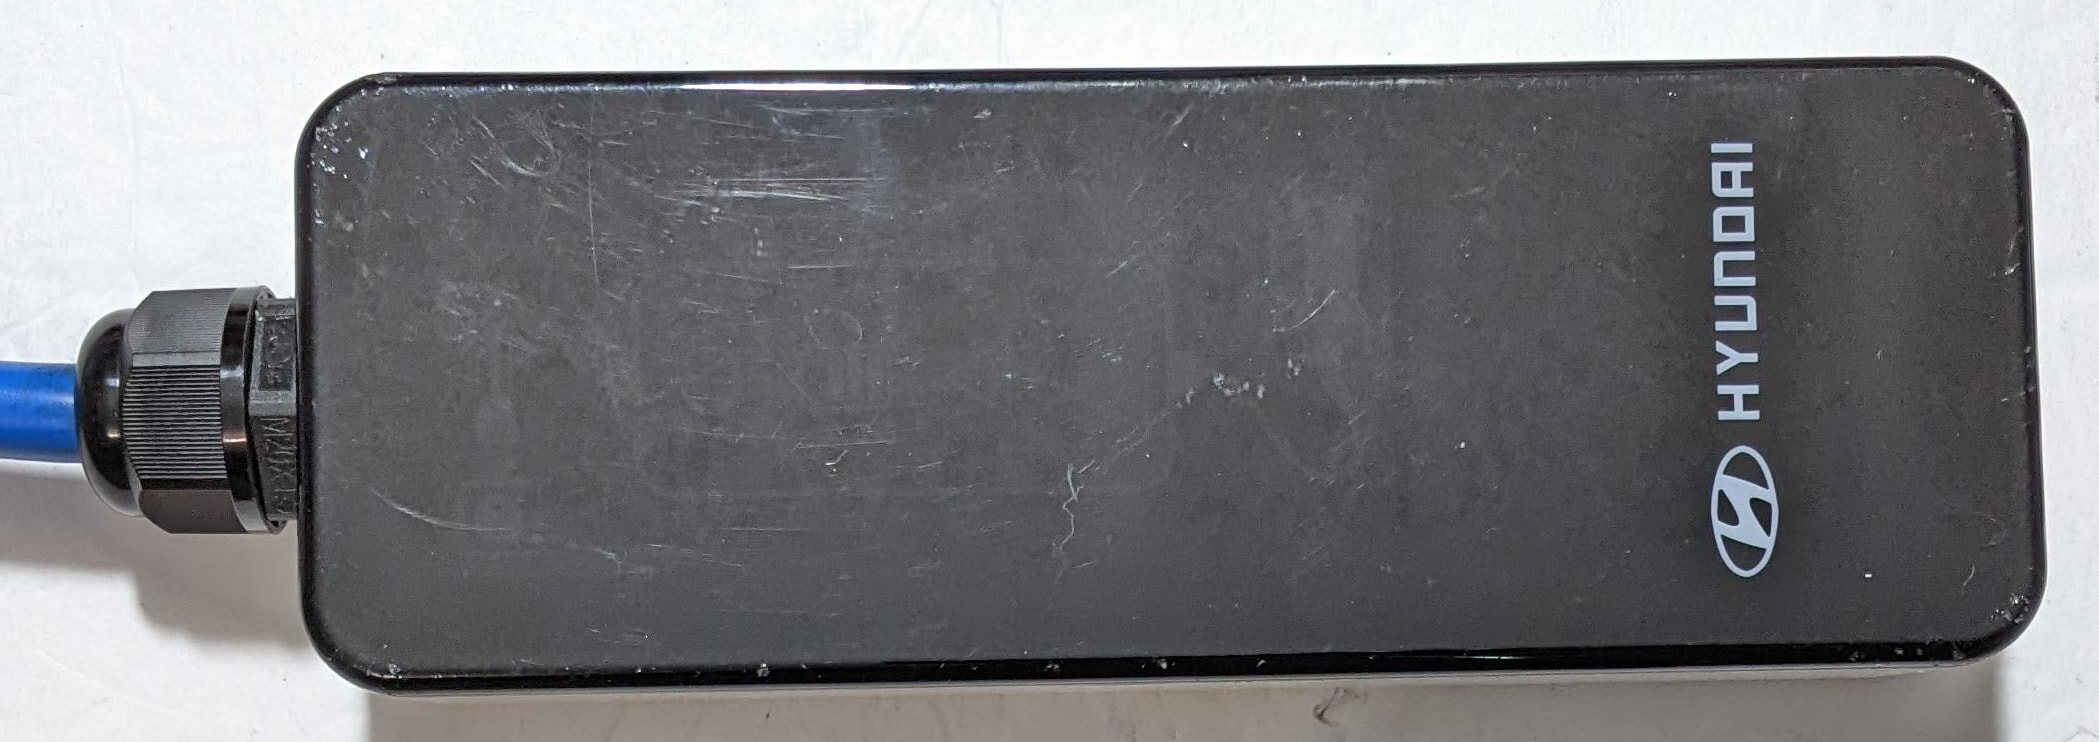
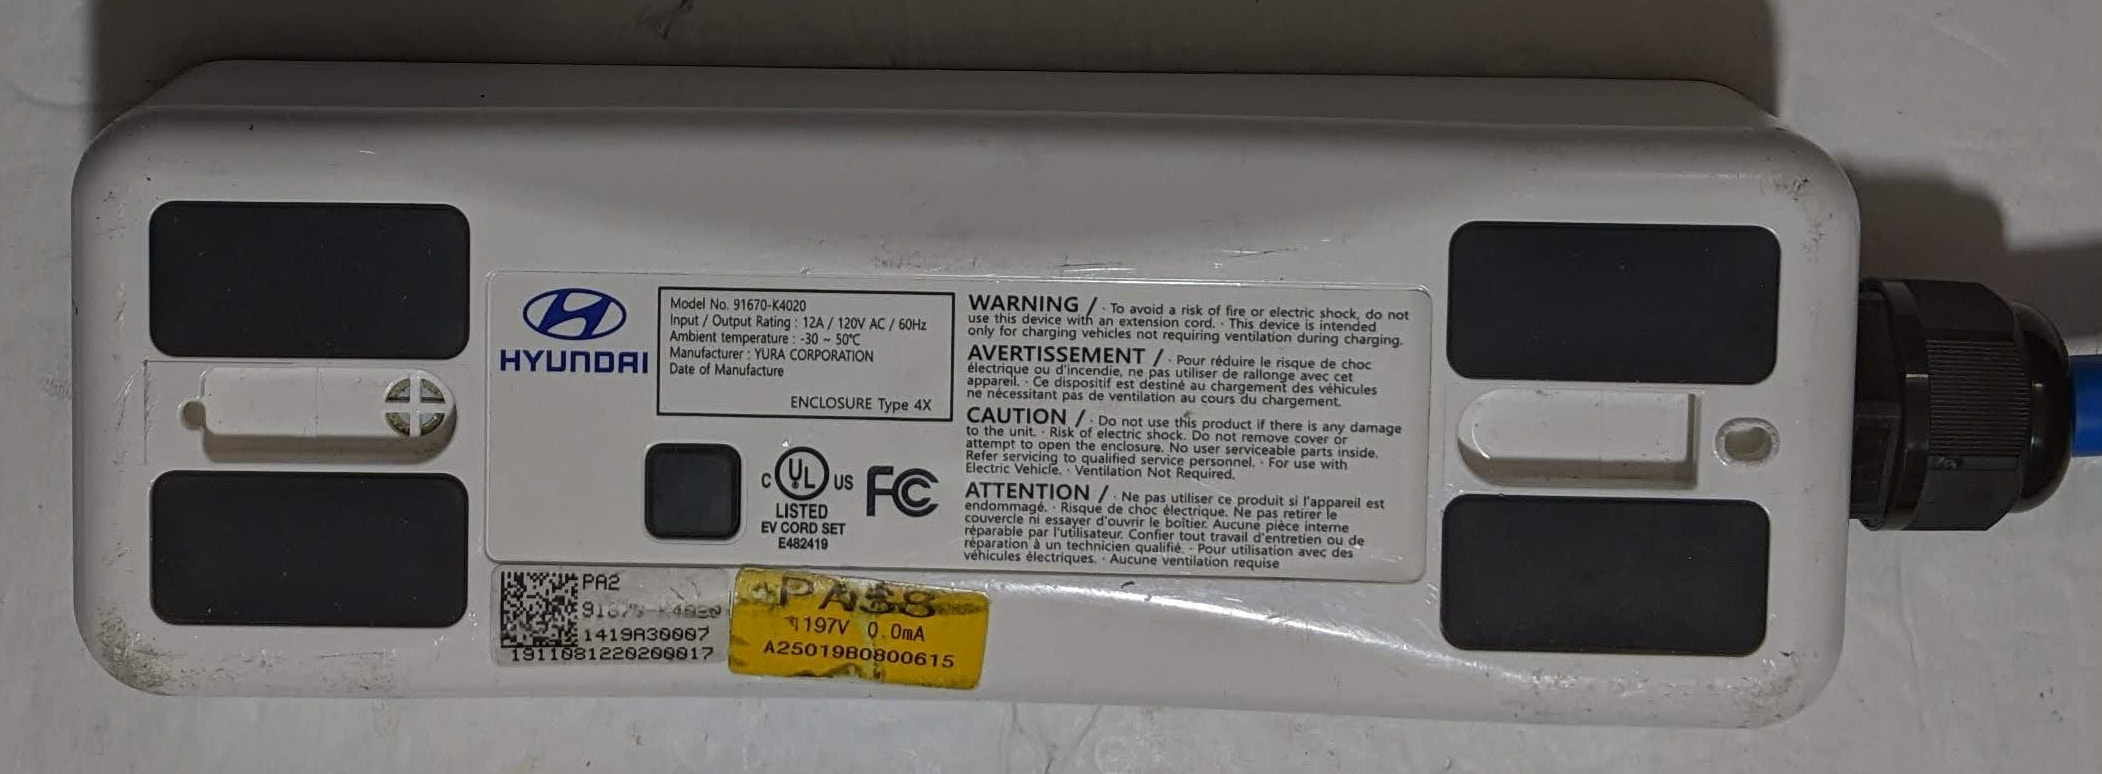
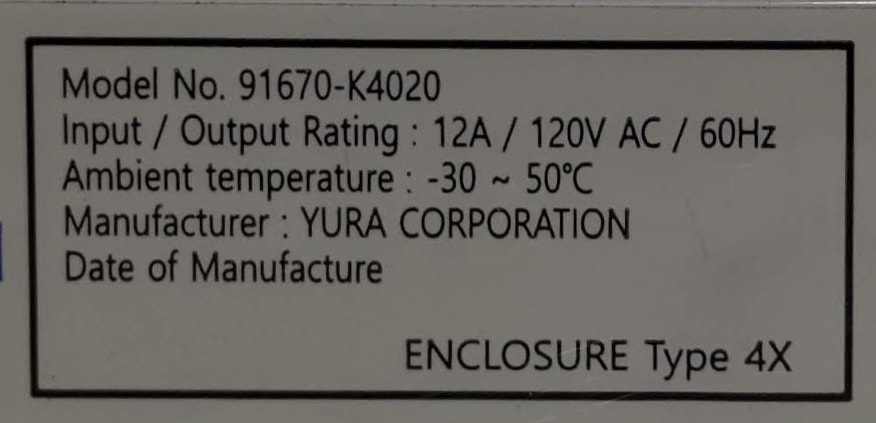

 RSS Feed
